DIY Printmaking Fun: Create Your Own Art with Foam and Cardboard
If you’ve ever wanted to try printmaking but didn’t want to invest in expensive materials, you’re in luck! With just foam and cardboard, you can create beautiful prints right at home. Here’s a simple guide to get you started on this creative journey.
Materials You’ll Need:
– Foam sheets (craft foam or foam board)
-Foam stickers (optional, but precut and fun!)
– Cardboard (a piece sturdy enough to serve as a printing base)
– Acrylic paint (or any other paint suitable for printing)
– A brayer (a small roller, optional but helpful)
– A pen, pencil, or any tool (for drawing on the foam)
– A paintbrush (for applying paint)
– Paper (for printing)
– A craft knife (or scissors for cutting foam)
-Glue/tape
Steps to Create Your Foam Prints:
1. Prepare Your Foam Plate:
– Start by cutting a piece of foam to your desired size. Foam sheets are perfect for this; they’re easy to cut and work with.
– Sketch your design lightly on the foam with a pencil. You can draw anything from simple shapes to intricate patterns. Remember, the areas you draw on will be raised in your print.
2. Create Your Design:
– Use scissors or a craft knife to carefully cut into the foam to create the shapes you’d like for your print design.
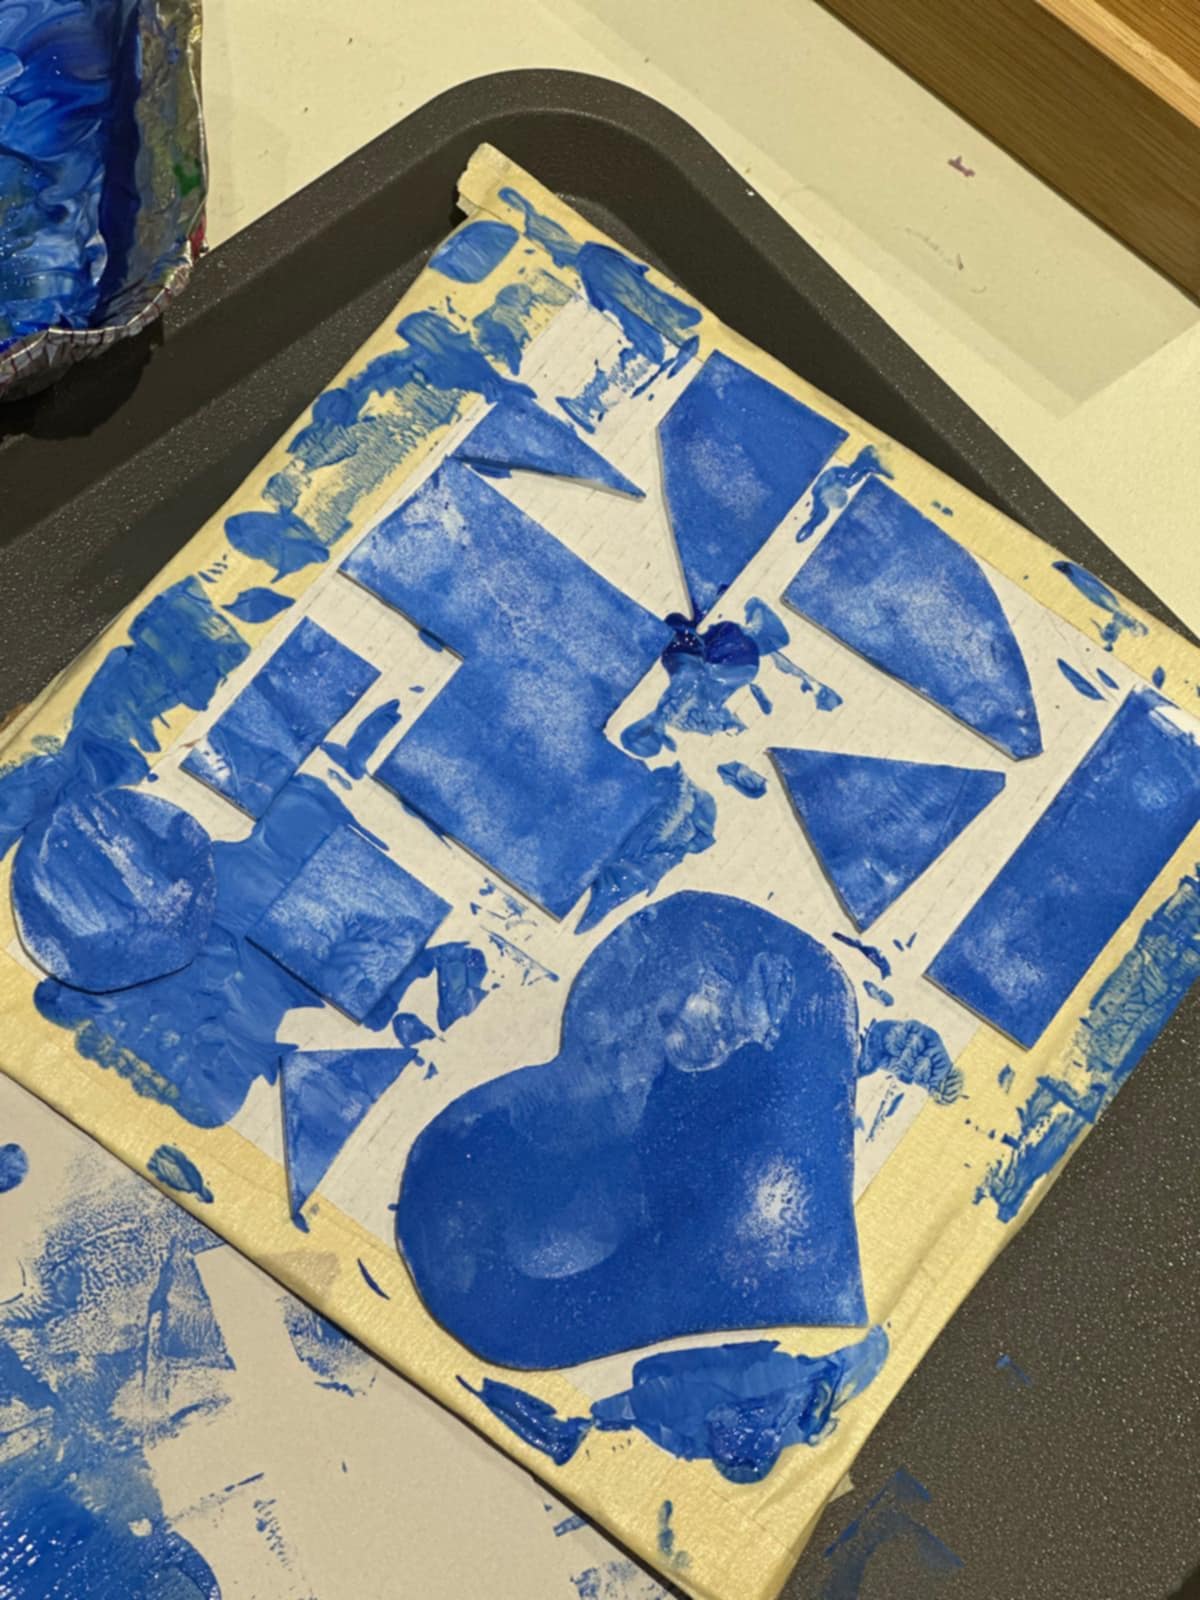
– You can cut out shapes out of the foam, and glue it to the cardboard base. You can also use foam stickers!
3. Prepare Your Printing Area:
– Spread a thin layer of acrylic paint on a palette or a piece of cardboard. Use the brayer to roll out an even coat of paint. This helps in applying paint evenly to your foam plate.
4. Apply Paint to the Foam:
– Using your brayer or a paintbrush, apply a thin, even coat of paint to your foam design. Make sure all the raised areas are covered. Avoid overloading with paint as it might smear.
5. Make the Print:
– Carefully press a piece of paper onto the painted foam plate. Gently rub the back of the paper with your fingers or the edge of a book to ensure an even transfer. Lift the paper off slowly to reveal your print.
– You can make a few prints, change or add colours and try again and again!
6. Clean Up:
– Wash the foam plate and any tools used with soap and water to remove paint. Dry thoroughly for your next project.
**Tips for Success:**
– Experiment with different textures by using various tools to carve into the foam.
– Try layering colours by allowing each layer to dry before applying the next.
– Use different types of paper for varied effects—smooth paper for crisp prints or textured paper for a more artistic look.
– To further your printing experience, try out gel plate printing! Check out all the supplies you need on our Amazon Store!
Printmaking with foam and cardboard is not only accessible but also incredibly fun. Whether crafting with kids or exploring a new hobby, this technique offers endless possibilities for creativity. Enjoy making your prints and don’t forget to share your art with others!